
Take Screenshot on Mac
Mac ကို အခုမှ စသုံးမယ့် Beginner များအတွက် Mac computer မှာ screenshot ရိုက်ကူးနိုင်တဲ့ နည်းလမ်းများကို ဖော်ပြလိုက်ပါတယ်။ screenshot ရိုက်လိုက်သော ပုံများကို Desktop ပေါ်တွင် Default အနေနှင့် သိမ်းသွားပါလိမ့်မယ်။ File name ကိုလည်း (Screenshot Date Time) အလိုက် ‘.png’ format နဲ့ သိမ်းသွားပါလိမ့်မည်။
Screenshot ကို Option လေးမျိုးနှင့် ရိုက်ကူးနိုင်ပါတယ်..။ (1) Full Screenshot (မျက်နှာပြင် တစ်ခုလုံးအား ရိုက်ယူခြင်း) (2) Selection Area Shot (နေရာကွက်၍ ရိုက်ယူခြင်း) (3) Selective Window Shot (ဖွင့်ထားသည့် Window တစ်ခုကို ရိုက်ယူခြင်း) (4) Save to Clipboard Screenshot (clipboard တွင် သိမ်းယူခြင်း)
Screenshot ရိုက်ကူးရာတွင် အသုံးပြုမည့် ကီးဘုတ်ခလုတ်များမှာ −
(shift, command ⌘, control, space bar) နှင့် နံပါတ်ကီး (3, 4) တို့ကို တွဲပြီး အသုံးပြုရပါမည်။
(1) Full Screenshot
computer screen ၏ မျက်နှာပြင်တစ်ခုလုံးကို ရိုက်ကူးရန်..
command⌘ + shift + 3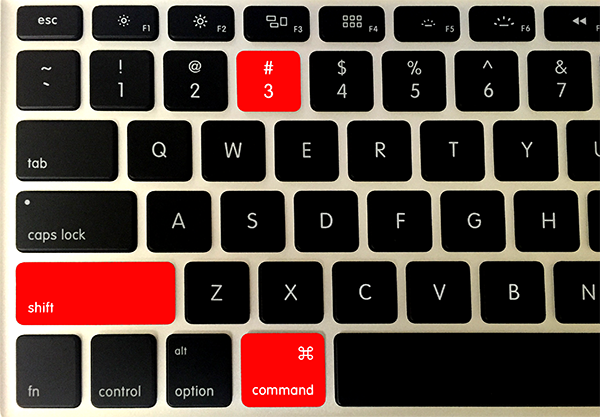
ကင်မရာ shutter အသံနှင့်အတူ ပုံကို Desktop တွင် save လုပ်သွားပါပြီ။
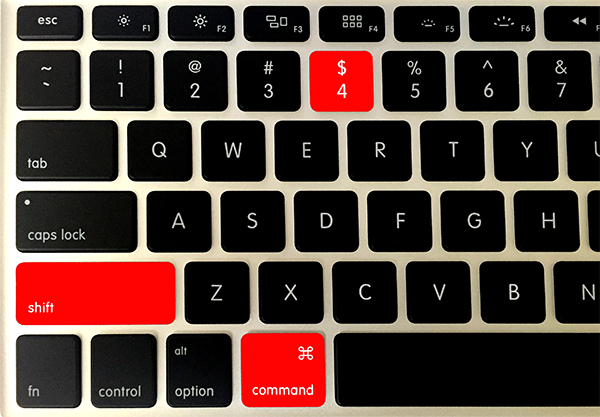
(2) Selection Area Shot
screen မျက်နှာပြင်မှ မိမိစိတ်ကြိုက် နေရာတစ်ခုအား ကွက်၍ရွေးချယ်ရိုက်ကူးရန်..
command⌘ + shift + 4ကို အရင်နှိပ်ထားပြီး လွှတ်လိုက်ပါ၊ ထို့နောက် mouse မှ ဖြစ်စေ Touch pad မှဖြစ်စေ နှိပ်ထားပြီး မိမိလိုချင်သော အပိုင်းကို Drag ဆွဲပြီးနောက် (mouse / touch pad) မှ လွှတ်ပေးလိုက်ပါ။

မှတ်ချက်။ ။ mouse/touch pad မှ မလွှတ်မီ Cancel လုပ်လိုပါက “Esc” key နှိပ်ပါ။
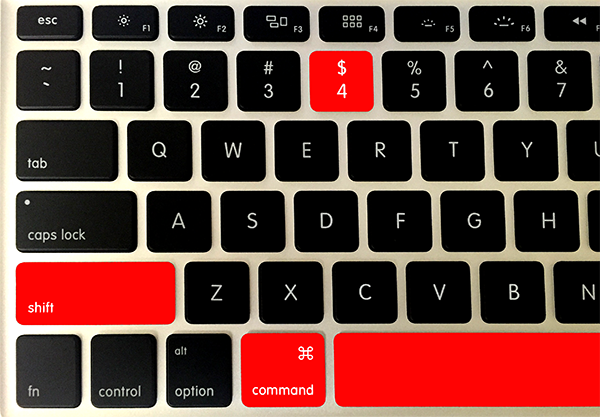
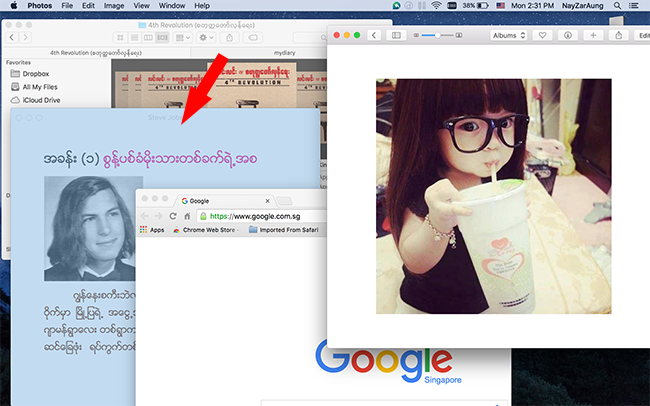
(3) Selective Window Shot
မိမိဖွင့်ထားသော Windows ငယ်လေးများထဲမှ နှစ်သက်ရာ Window box တစ်ခုကိုသာ ရွေးချယ်ရိုက်လိုပါက..
command⌘ + shift + 4 and hit space barcommand⌘ + shift + 4 ကို အရင် နှိပ်ပြီးနောက် space bar တစ်ချက်နှိပ်ပါ။ ထိုအခါ ကင်မရာပုံလေး ပေါ်လာပြီး မိမိနှစ်သက်ရာ Window ကို ရွေးချယ်ပြီး (mouse / touch pad) ကို တစ်ချက် နှိပ်ပါ။
(4) Save to Clipboard Screenshot
မိမိ screenshot ရိုက်လိုက်သောပုံကို Desktop မှာ တိုက်ရိုက် save မလုပ်သွားသေးပဲ Clipboard မှာ ယာယီသိမ်းထားပြီးနောက်၊ ပုံကို အမှန်တစ်ကယ် အသုံးပြုမည့် နေရာ (Application) ထဲရောက်မှ “command⌘ + V” နှိပ်ပြီး ‘Paste’ လုပ်ချသော နည်းလမ်း ဖြစ်ပါတယ်။
‘control’ key သည် အသက်ဖြစ်ပြီး.. Full screen အတွက်..
command⌘ + control + shift + 3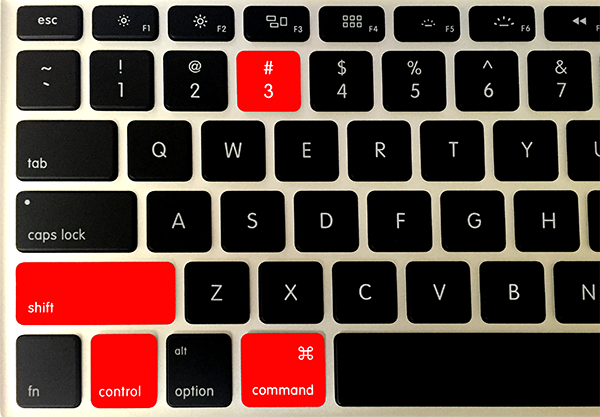
Selection Area အတွက်..
command⌘ + control + shift + 4Selective Window အတွက်..
command⌘ + control + shift + 4 and hit space barတို့ကို အသုံးပြုနိုင်ပါသည်…။
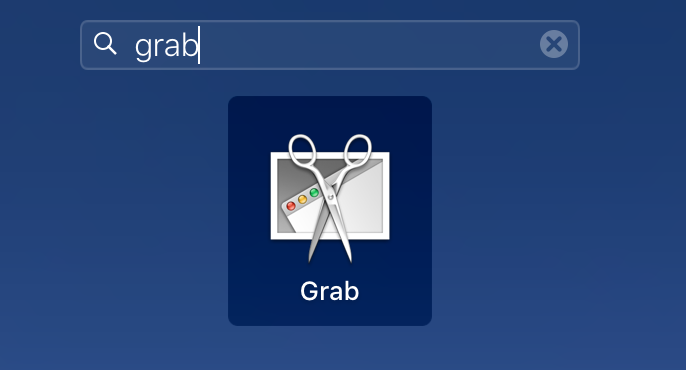
Grab Application ကို အသုံးပြုခြင်း
Mac OS မှာ အသင့်ပါဝင်တဲ့ “Grab” App နှင့်လည်း အလားတူ ရွေးချယ်မှုမျိုးများနှင့် Screenshot ဖမ်းနိုင်ပါသေးတယ်။
Finder ရဲ့ Applications > Utilities > Grab (သို့မဟုတ်) Launchpad ၏ search box တွင် ‘Grab’ ဟု ရိုက်ရှာပြီး ဖွင့်ပါ။
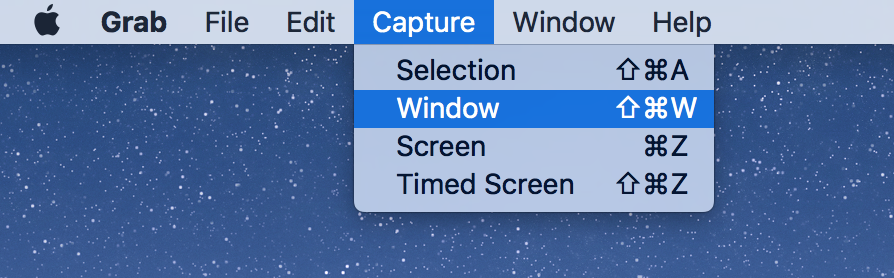
ထို့နောက် Menu bar ရှိ Capture တွင် မိမိနှစ်သက်သော Option နှင့် ရိုက်ကူးနိုင်ပါသည်။ ကွာခြားချက်မှာ ရိုက်ကူးပြီး ပုံများကို Desktop တွင် အလိုလျှောက် Save မလုပ်ပဲ File > Save ထဲတွင် စိတ်ကြိုက် လမ်းကြောင်းချပြီး သိမ်းနိုင်ပါသည်။
အခမဲ့ ဆိုတဲ့ အရာတိုင်းမှာ ခန့်မှန်းလို့မရနိုင်တဲ့ တန်ဘိုး တစ်ခု အမြဲရှိပါတယ်